Sometimes you just want to do a project on your own. When you’re celebrating fall with hot apple cider, pumpkin pie and flannel shirts, you want to fashion the season’s materials and colors into something that will let you hold on to the magic. We’ve searched through some of the best fall DIY projects to bring you some for every skill level. Here are a few of our favorites.
If You Have a Few Minutes
Make an easy fall wreath in less than an hour. You’ll need a craft foam ring, eight large fall floral stems, wire cutters and a pen.
Cut your flower stems with wire cutters so only about an inch sticks out from each bloom. Mark your foam wreath with eight evenly spaced dots. Push each stem into the foam until it feels secure but doesn’t stick out through the back. Work your way around until the flowers cover the wreath. Hang your wreath on a door or window for instant fall color.
If You Have a Few Hours
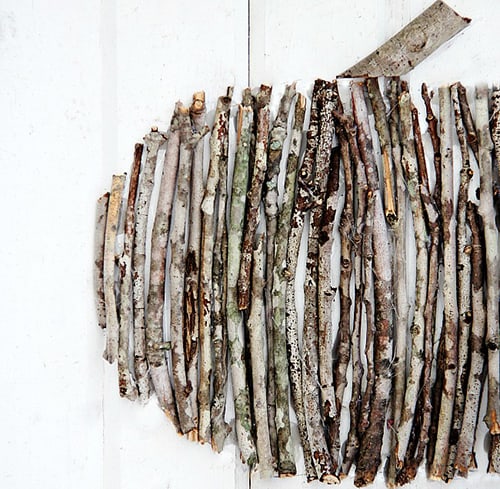
Make a twig pumpkin you can hang on a wall or place on a shelf. Finish it in an afternoon with these steps:
- Purchase a wooden tray at an antique store or re-purpose a small board for your backdrop.
- Paint the backdrop a light color. We like white chalk paint.
- Lightly sand the edges for a distressed look.
- Collect about 30 small twigs from the yard or take a walk through the park. This part is great for involving young children.
- Draw the outline of a pumpkin on your backdrop.
- Break your twigs into sizes that fit your pumpkin from top to bottom.
- Use hot glue to attach them to the backdrop.
For more detailed instructions check out the blog on Thistle Wood Farms. There are so many fantastic, inspirational blogs out there for fall DIY projects. Try the ones we found, or get inspiration and browse for more.
If You Have a Day or Two
Build a fire pit from cinder blocks you’ll enjoy far into the winter. You’ll need cinder blocks, mortar and a flat area you can reach with your water hose in case a fire gets out of control. Rectangular fire pits are easiest to build, but there are instructions online for round ones, too. Here’s how to build one with square edges:
Most cinder blocks are 16-by-8-by-8 inches. Measure off a square or rectangular area that allows you to place whole blocks end to end. For example, a pit that is 4 feet-by-3 feet would measure 64 inches-by-48 inches.
 Use spray paint to mark your measurements and dig inside that area about six inches.
- Calculate how many blocks you’ll need for three layers.
- Purchase cinder blocks and mortar, then unload all your equipment near the building site.
- Mix mortar according to package instructions.
- Lay out your first layer of cinder blocks.
- Apply mortar on top, then add the next layer. Repeat for the third layer.
- After your mortar has had at least 24 hours to set, improve your fire pit’s appearance by applying heat-resistant paint. Add an inner layer of sand, pea gravel or lava rock. Your fire pit is ready to enjoy!
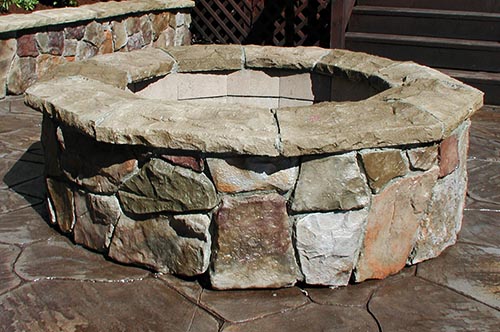 Use spray paint to mark your measurements and dig inside that area about six inches.
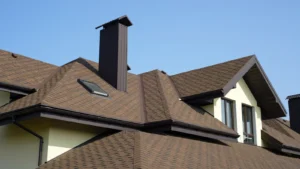
When getting your home ready for fall, Mr. Roof has the best in home exterior upgrades. Contact us to find out more. Here at Mr. Roof we have expanded our expert services to include roofing, windows, masonry, siding, gutters, insulation and more. Get all your exterior repairs done at one simple location!