Whether you are shopping for your first home, building from scratch, or replacing a roof on a home you’ve owned for years, don’t forget to think about the drip edges. Drip edges are often an afterthought for homeowners, and that’s if they remember to think about them at all. Many assume a roofing project includes drip edges, but it’s important to speak with your contractor before making that assumption.
There are many parts of the country where drip edges are included automatically as a common feature of a roof installation. In regions that aren’t predisposed to severe weather, it’s less common to find drip edges on roofs. Worse, excluding them could be used as a cost-cutting tool, a move that may seem like a good idea when it saves money in the short term but may come back to bite you with a costly repair later.
What are drip edges, and why are they necessary?
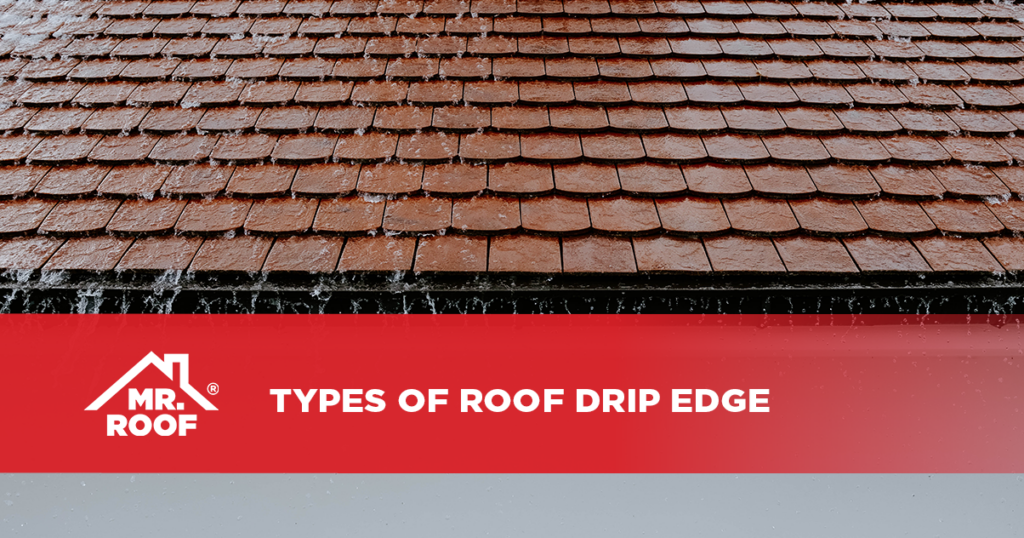
A drip edge is a material applied on a roof’s edge that is resistant to staining and corroding. The drip edge is installed with a tilt that protects your roof from water. The tilt is intended to direct water away from the roof while preventing damage to the roof’s foundation. A well-done drip edge can add years to the life of your roof by preventing holes or cracks.
Drip edges can protect a roof in several ways:
- Insects and small pests are obstructed from trying to access the bottom of the roof between the fascia and a deck.
- Extends the life of shingles by preventing water damage.
- Prevents fascia erosion by turning water away.
- Makes the gutters more effective at moving water away from sensitive areas around the home’s base.
- Protects deck edges from water when it rains, potentially extending the life of the deck.
- Prevents damage from ice and snow along the roofline.
- Holds sturdy during sharp winds.
- Promotes effective performance of water-shedding.
- Helps to prevent shifting between fascia boards and a deck.
Common types of drip edges
The drip edge is found hanging beyond the roof deck and over the front of the fascia boards. They aren’t one size fits all. In addition to being made in varying materials, they can also be fashioned in different shapes. Sold in 10.5-foot lengths, the drip edge should hang anywhere from two to five inches over the area it protects.
- Aluminum is one common metal used for drip edges. It’s not as strong as steel and can often be found in colors that match well with the home’s existing colors. Aluminum is also very resistant to corrosion.
- Galvanized steel is a strong material for drip edges in environments where wind is a concern. The steel needs to be galvanized to be able to hold up against constant exposure to water without rusting. If galvanized steel is used to protect against strong winds, 24-gauge steel should be the minimum used.
- Copper is another good choice. In addition to being sturdy, it has a distinctive look some homeowners appreciate for its drip edges.
- Non-metallic options are also available for drip edges but usually aren’t durable enough to serve as a long-term fix on a roof. Plastic, vinyl, and fiberglass are better equipped to be used above windows or doors.
- Hemmed drip edges use metal and standing seam roofing to direct water away from going upward.
- L drip edges are used on low-incline roofs and fastened with glue to the outer edge.
Basic profiles for drip edges
Drip edges are sold in three basic profiles, Type C, Type D, and Type F. All three have their proponents.
The Asphalt Roofing Manufacturers Association advocates for the use of Type D, which sports a lower flange at the bottom and actually is shaped more like a capital T. Type C has an L-shaped drip edge bent 90 degrees with the lower flange at the bottom.
Type F has a longer leading edge and can be useful for putting a new drip edge over shingles already in place or on rake edges.
Gutter aprons and rake edge metal for drip edges
Gutter aprons and rake edge metal are sometimes called drip edges. However, some roofing professionals don’t consider them to be a true drip edge. These fixtures are commonly used on metal roof structures. The gutter apron is a Type F form of the extended drip edge and typically will be the first metal component affixed to a roof system. It is affixed beneath the underlayment, directly on the sheathing. A gutter apron fills the gap between the sheathing and the fascia board, allowing the underlayment to cast off water while preventing insects and animals from exploring the eaves or attic space of the home.
Attaching an additional drip edge to the gutter apron steers water to its proper destination in the gutter without allowing it to wash back onto the fascia board, where it can degrade the material over time.
Rake edge flashingsprotect the rake frieze boards in much the same manner a gutter apron guards the fascia boards. Rake edge flashings aren’t used in conjunction with gutters. Instead, they use a drip edge on the rake medal to keep water off the trim boards and siding.
Other drip edges you can use on metal flashings include:
- Gravel stops are a perimeter edge metal that can be used on a low-sloped roof. The purpose of the gravel stop is its flange, which prevents loose debris like gravel or ballast from discharging off the roof. Like with the rake edge flashing, the gravel stop protects the side of the home.
- Chimney caps or chase covers are made of sheet metal and designed for tapering water. With the water being drained to the edge of the caps, pooling is prevented. Instead of water damaging the sides of the chimney, it can be redirected to the roof system and discarded via the gutters.
- Coping is used on parapet walls to protect the wall itself from water. Coping features two drip edges, one for the roof side and the other for the exterior of the wall. The coping directs water back onto the roof, where rain drains or gutters form a pathway from the house.
Installation of a drip edge
No matter what drip edge you settle on for your home, it’s important to know the installation technique isn’t the same as it is for eaves. Drip edges should be installed at the eaves before the underlayment is installed. Drip edges are added at the rakes after the underlayment is in place. Drip edges also need to be cut to account for peaks and corners.
Installing drip edges properly and in the correct order is an important process to get the desired results and the protection your home needs from the elements. If you aren’t a roofing professional yourself, you’ll want to hire one to make sure the job is done with the skill and know-how required.
Replacement of drip edges on existing roofs
It is possible to replace or install a drip edge on an existing room, although a great deal of care is required to do it successfully and without damaging your roof edge.
Start by lifting the shingles at the roof’s edge and find where the nails holding the current drip edge are. Very gently, pry the nails out with a hammer and pry bar and slide the drip edge out of the roof. The old drip edge can now be disposed of.
The new drip edge can be installed with cement and nails, but it’s a two-person job. Someone will need to elevate the shingles while the installation takes place.
Warm weather is best for carrying out the replacement or installation of the drip edge. Getting the shingles stripped back into place will be easier. The person elevating the shingles should put them back in place as the installation progresses.
A professional roofing company is best to ensure the work will stand up to the environment as well as save you time.
Be thorough with placement
During the installation of drip edges, make sure every portion of the house that could have water draining off it is protected. It only takes one weak spot for eventual degradation to take place and cause issues for your roof, your deck, or another vulnerable area.
When reaching the end of a piece of drip edge, overlap and form an overhang joint to prevent the flow of water from going under the joint. Failure to execute a proper overlay may leave a gap where water flows behind the edge and misses the gutter.
As with the failure to install an edge somewhere critical, having a gap from a poor overhang can eventually be an issue later down the road.
Other considerations before the installation or replacement of drip edges
Don’t install a drip edge without first consulting the local building codes as well as local rules that may be in effect through your HOA or another local authority. The last thing you want after having drip edges installed is to incur fines and be forced to remove and replace them in short.
When to call a professional
Mr. Roof’s team of experienced and professional installers can identify the best drip edge for your roof and make sure it’s installed properly to code. Contact us for a free estimate today.


