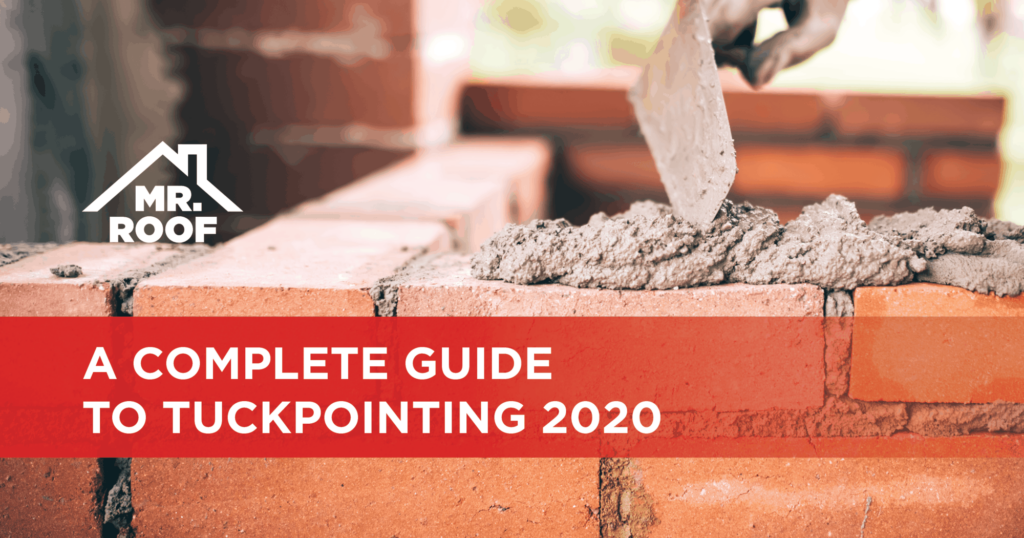
What is tuckpointing? People often get confused with this term. Tuckpointing is a term used for various procedures which include the procedure of eliminating weakened areas, pointing, repointing, and applying plastic mortar after excluding the original or defected mortar. It is an essential process to maintain the strength of the joints and walls and it is also repeated if the joints are not finished properly.
Preparing
The process of tuckpointing is not easy and it requires a well-trained expert to work on it. However, in this guide about tuckpointing, you will read all that is important to know about this process. Initially, before preparing the mortar, one has to analyze the condition of the walls to determine if the walls or joints require tuckpointing, and what type of process is required. Tuckpointing is only useful if the mortar of walls or joints has failed. After completing the process of tuckpointing it is important to remove the access mortar and clean the area properly to leave a smooth surface. The application of mortar also depends upon the overall condition of the walls, including some important factors such as how old the building is and what type of material was used by the builders. You can use a chisel to clean the joint, and a heavy driller along with a cutting tool to cut into the mortar joint.
Assessing the damage and creating the mixture
The process of tuckpointing is not complete without a mixture made of cement and mortar. It is important to know about the quality of mortar and cement as they should be strong enough to support the joints. The following procedure makes things convenient:
- Determine if there is any need to use power tools, This process usually only requires a saw and a grinder to eliminate old mortar.
- Use proper protection to avoid any bodily harm.
- Eliminate the old mortar to full depth or until firm mortar is reached.
- Be careful not to remove more than one third the depth of the masonry unit.
- Remove the excess dirt and particles on the mortar joint with the help of a brush or a blower.
- Choose which type of mortar should be used. It is good to use a hydrated mortar to minimize shrinking.
- People commonly mix mortar with different types of materials to create variations in texture and color. When required, blend in additives to match current mortar colours.
- Mix everything together.
- Add the half portion of water that is required to create a mixture.
- Continue mixing the mortar until it converts into a thick and cohesive mixture.
- Allow the mix to settle and let it sit for an hour or two.
- You can add in some water to improve workability. Be careful as excessive amount of water can reduce the workability as well.
Application
- To ensure the new mortar blends properly and attaches to the original joint and surface, the tuck-pointed joints should be dampened. There are several products on the market that will help you to inject the mortar into the joints. Apply mortar into the joint with the tip of your trowel.
- Carefully apply the mortar on the required areas, and then remove excess mortar with a tool.
- Use a cutting tool to strike the joints as mortar begins to harden. Start with the vertical joints, then with the horizontal joints.
- To eliminate the air pockets and voids, the mortar should be put on in layers.
You can use this guide about tuckpointing to make the DIY experience convenient. Or, call a team of expert masons to complete the job for you.


